Page 1 of 3 123 LastLast
Results 1 to 10 of 25
  1. #1
    Join Date
    May 2006
    Location
    Nashville
    Posts
    2,127

    Default LED Interior lights upgrade, designed to look like factory.

    Okay everyone, as you know I'm a fan of making everything look original if possible. While that is not always possible, it's still something I strive for. But in many cases, factory designed (especially for the older boats) is not only outdated and inferior, it just looks old.

    In the next few posts, I will show you how to convert you factory light pockets into a very BRIGHT LED while still retaining the factory look, and even still using the factory dash buttons. These posts will be very beneficial to those of you with Saltares/Piratas or Sunsport/Marauders as they have lights underneath their cupholders.

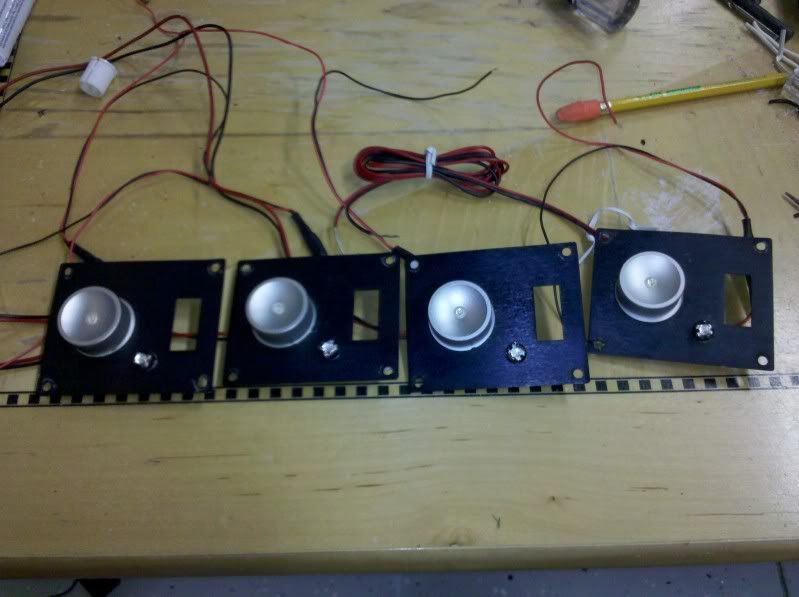
    The product we will be replacing them with is from Oznium. http://www.oznium.com/marine-led-light They are their marine grade floodlight. Many of you have seen these before. They are $18 a pop, but are very well built, and very bright! They also work perfectly for this application. The spotlights are an option as they fit as well, but the light spread is not as good.

    TOOLS USED:

    Phillips screwdriver -medium
    Wire cutters
    Drill
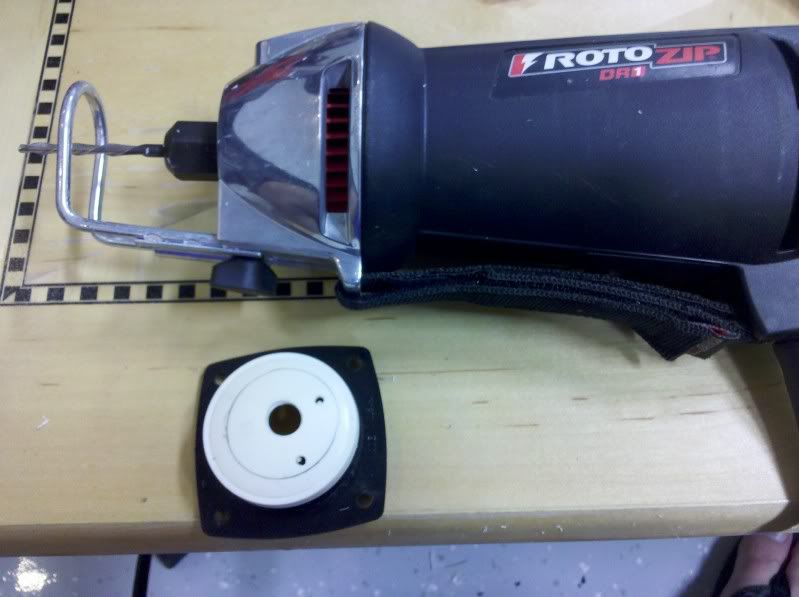
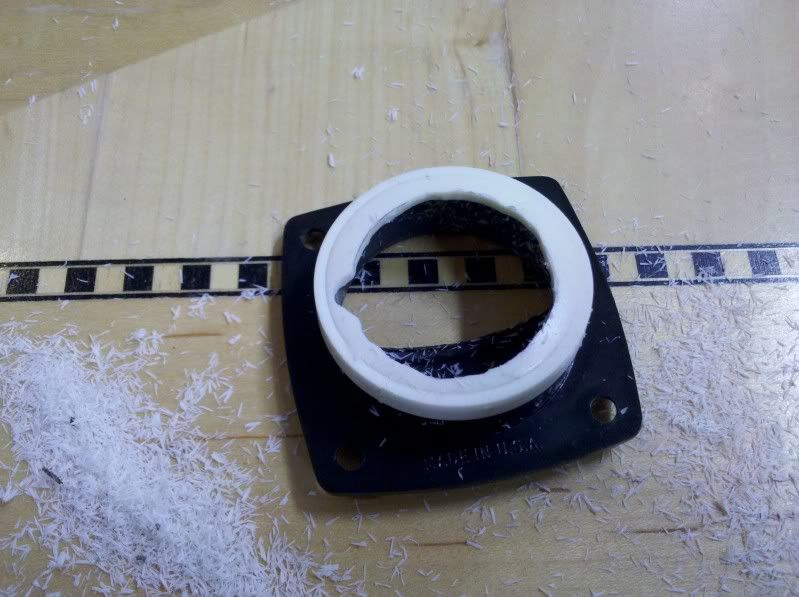
    Roto-zip (or dremel with cutting tip) - A drill can be used with a steady hand and patience
    Wire crimpers/strippers
    Pencil

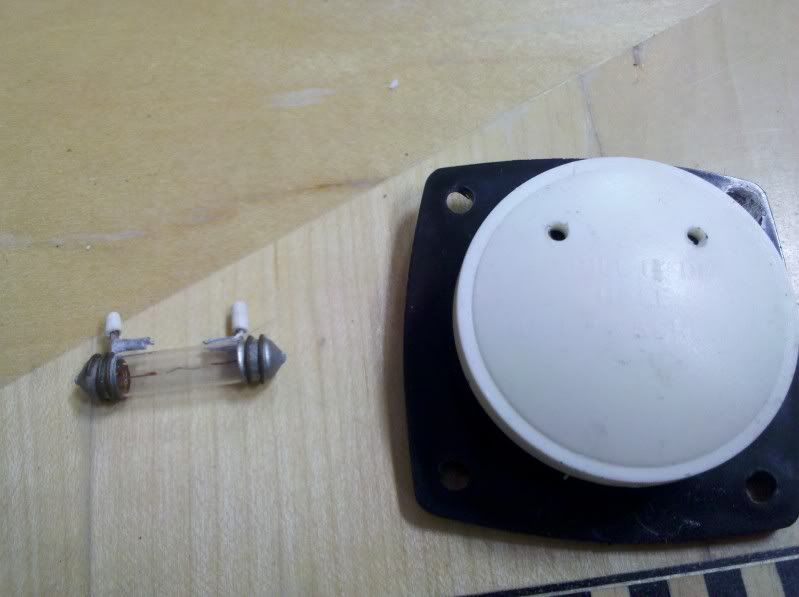
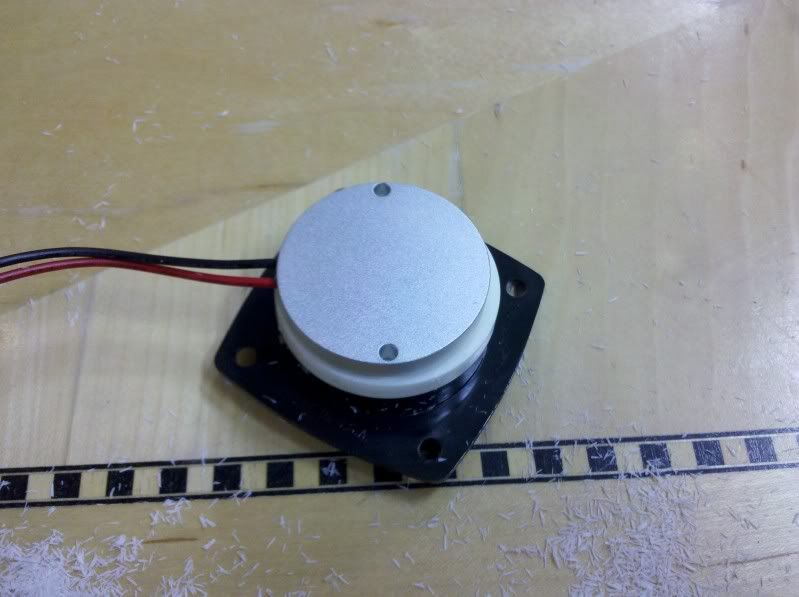
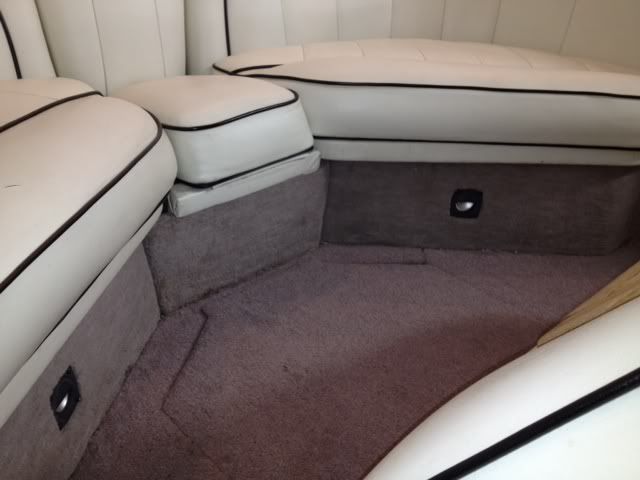
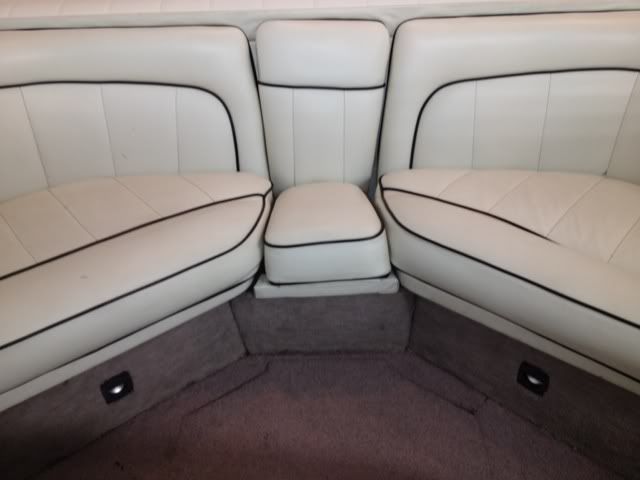
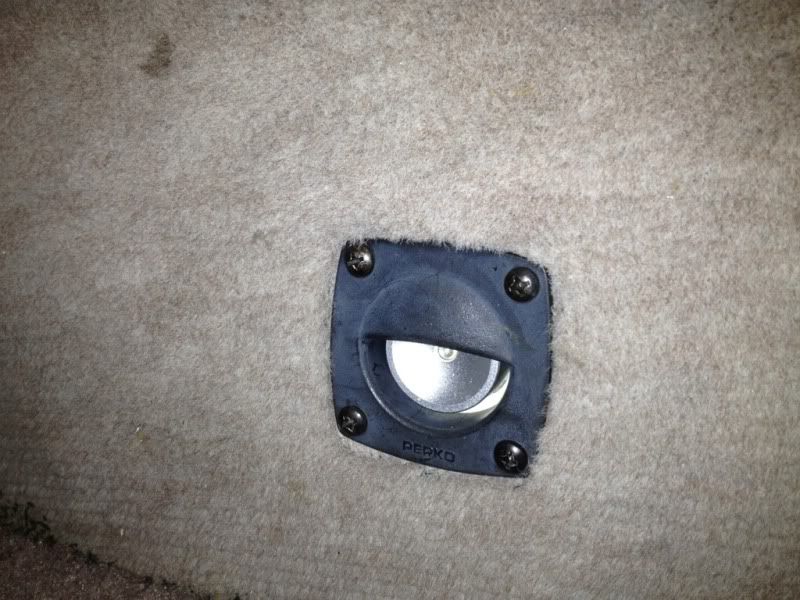
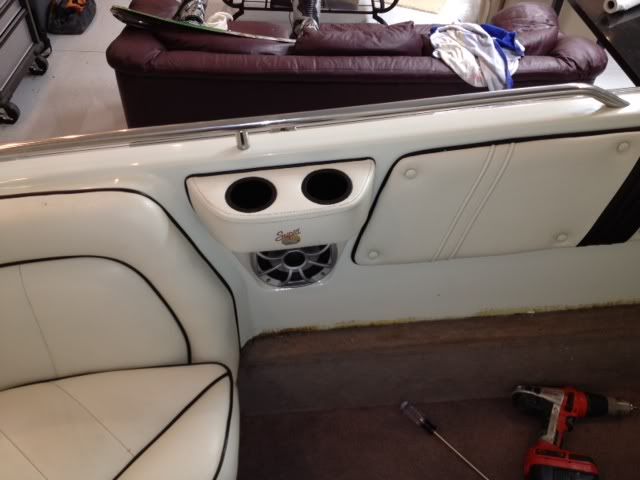
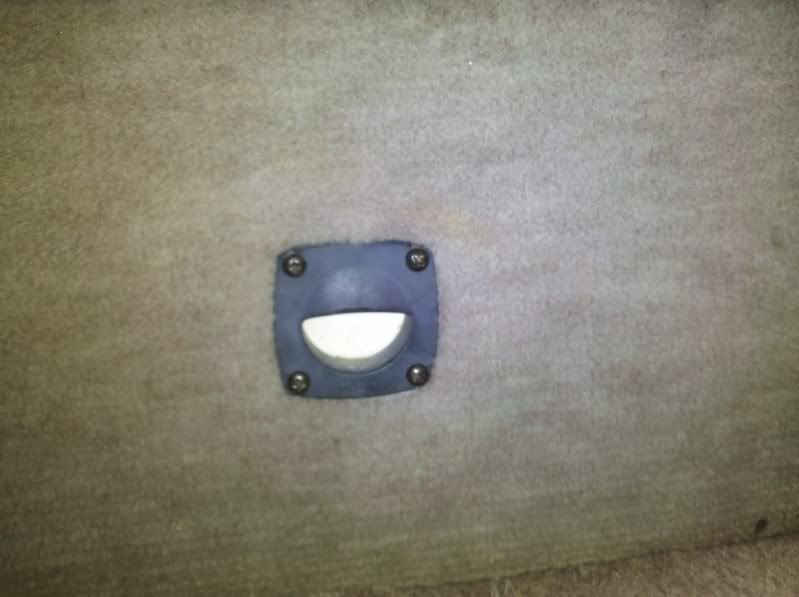
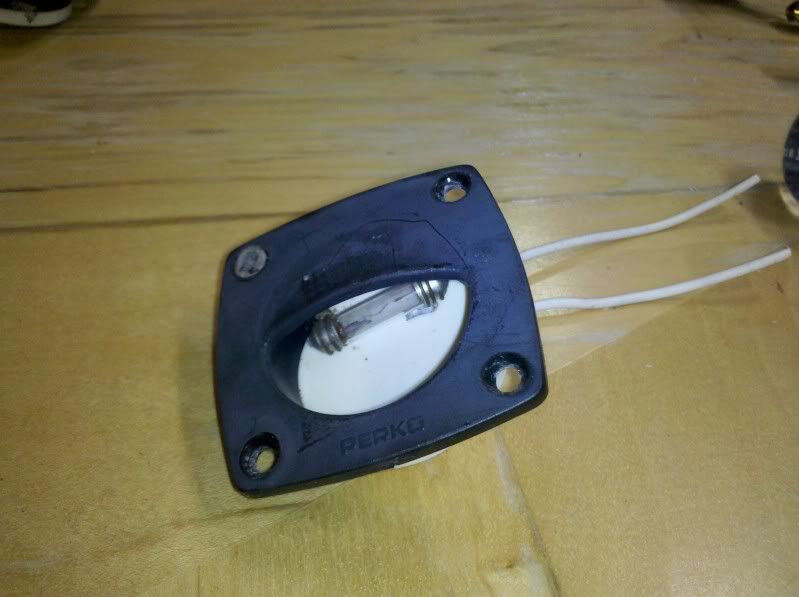
    First, we take a look at the factory light bucket that you find along the floor. From what I remember of my Comp and Mariah, match with my Saltare. There should be 3 of these lights on the interior to light up the floor. Two at the rear seat facing forward, and one at the observers seat facing back or towards the engine.


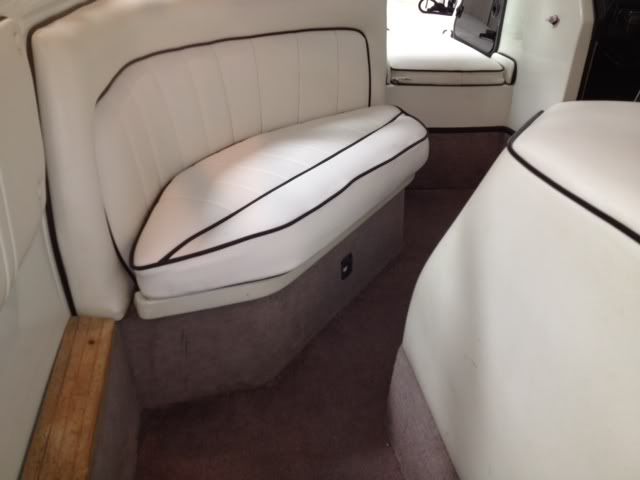
    These lights are held in by 4 screws. Remove the four screws. I recommend doing this by hand as many of us have old wood. Using a power screwdriver can damage the wood making it hard to get a good bite. They shouldn't be hard to remove.

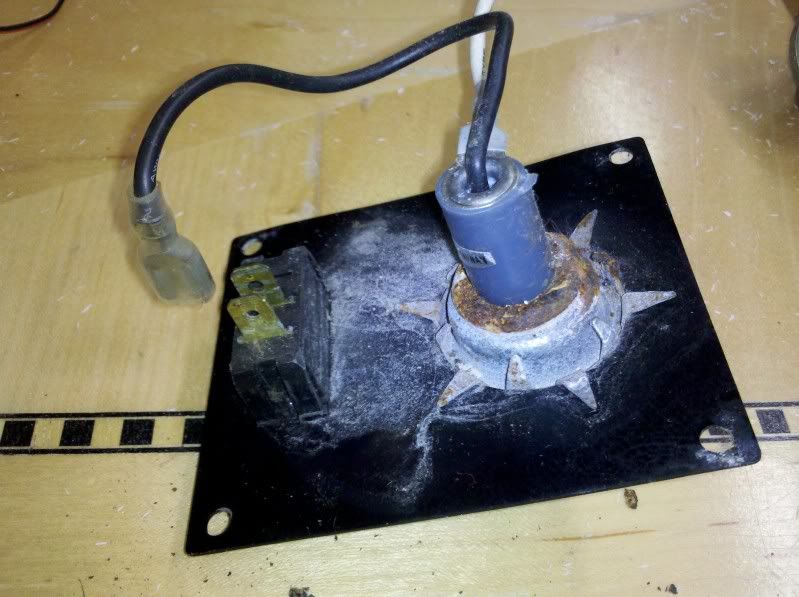
    Lift the seat up above the light you are working on. You should be able to see the wires from the light. There will be a black and red or blue and black wire set connected to the white wires of the light. You will not use any of the white wiring so clip the lights at the union on the black/red side. Once you clip the wiring, and the screws are removed you should be able to pull the light out from the front (light side). If stuck, gently push from the back, it really shouldn't take much at all to get them out.

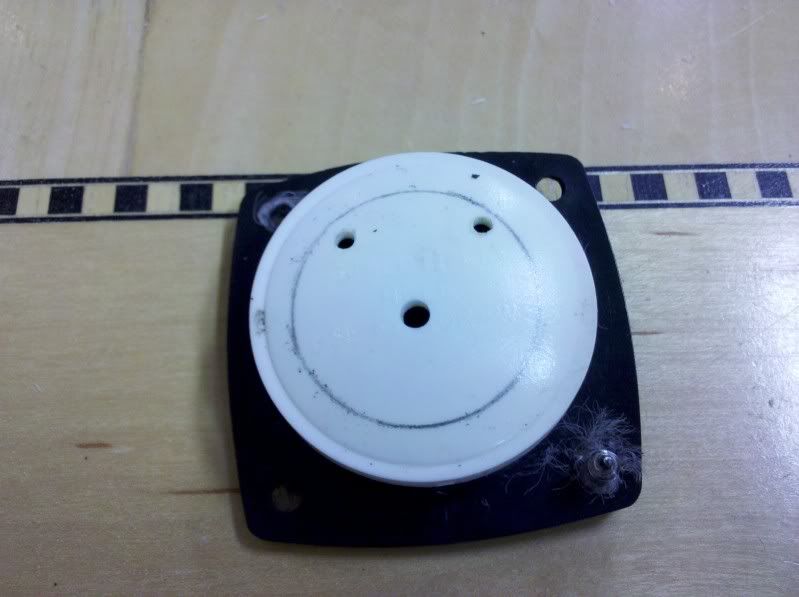
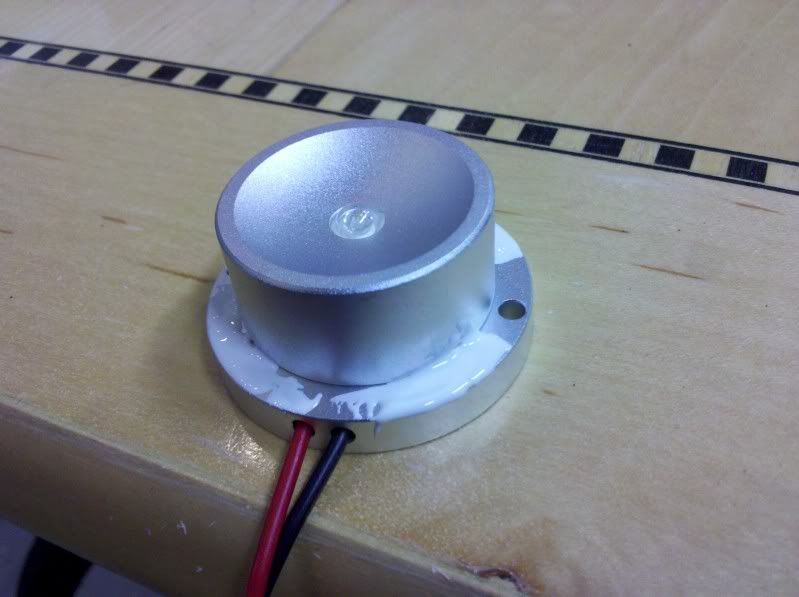
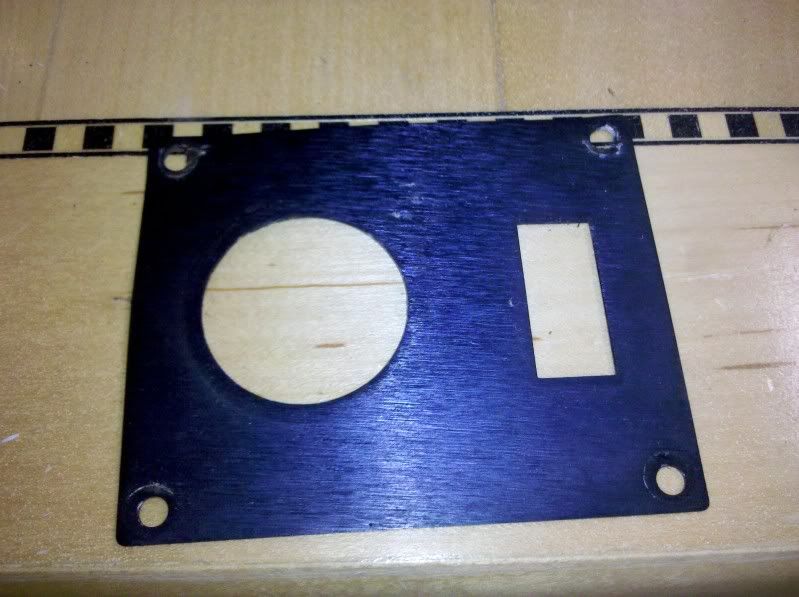
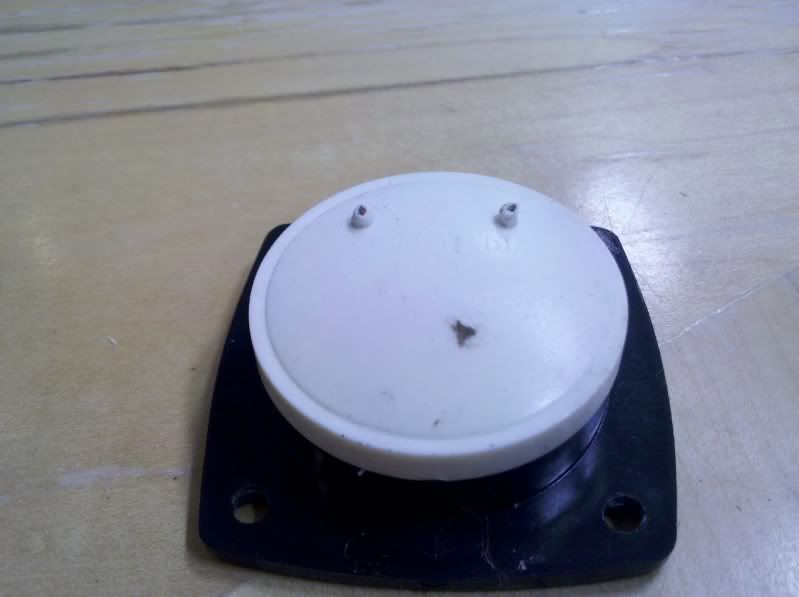
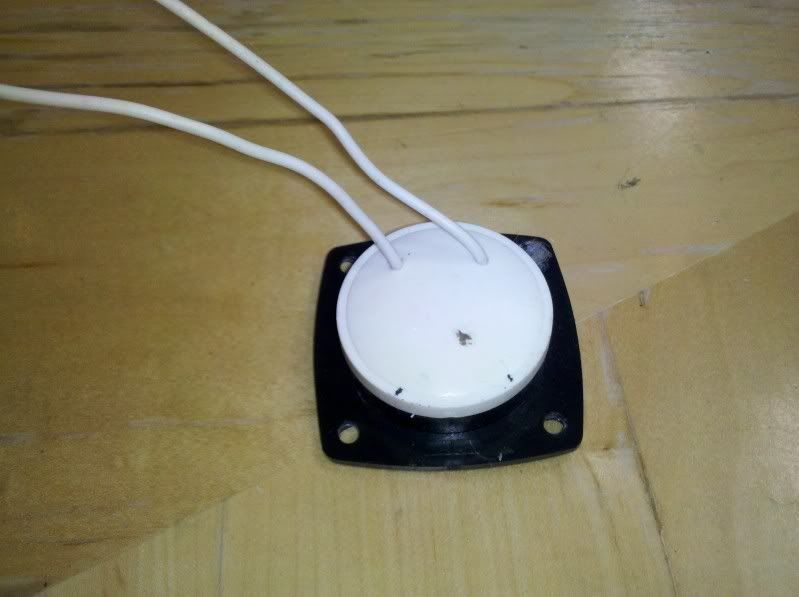
    Once it's out, this is what you should have:


    As you can see on the back, there are the two wires. Cut them as closely as possible to the plastic housing as you can.

    Last edited by haugy; 07-09-2012 at 04:16 PM.

  2. #2
    Join Date
    May 2006
    Location
    Nashville
    Posts
    2,127

    Default

    Once you cut the wires, gently work the light out from the front. I've found it easy to use a pick (small screwdriver will work) and push the wires from the back. Then you can pull the light bulb and remaining wiring out from the front of the light.


    Now comes the fun part.

    Once the light and wiring are removed, you have an empty shell with two small holes. Take one of the Oznium floodlights and place the actual light against the back. You are going to trace out the face of the light on the back using a pencil. Your goal is to make a hole small enough for just the neck of the light to fit through. The light has a mounting flange at the base, that will act as the backing to prevent the light from coming through.

    Then take a drill, any bit will do, smaller is easier, and drill a small hole in the center of your traced backing. It should look like this:


    That hole will give you a nice starting point to use your Roto-zip, dremel, or drill to make a larger hole, tracing along your mark. The roto-zip is very powerful, and not very forgiving, if you get off, as you can see, it will let you know. So take your time, go slow. Wear gloves to protect your hand that is holding the light bracket, and safety glasses as their will be little bits of plastic flying everywhere.

    Once you are done, the light bracket should look like this:


    As you can see here, I got just a little off with the Rotozip and it bounced and that was all it took. But don't worry. That won't be seen. All you are trying to do is make the light pass through from the back to the front. You may have to go back once or twice to trim the edges to get it fit. Tighter and smaller is better, so if you do this, less is more. You can always trim more.

  3. #3
    Join Date
    May 2006
    Location
    Nashville
    Posts
    2,127

    Default

    Once you are able to slide the light in from the back, it should look like this:


    Now your LED will fit in the housing, from the back, without having to modify the seat brackets, make new holes or anything. It will look factory original, until you turn on the lights.

    I put a small bit of silicone on the lights to help hold them in place. Light weight silicone so I can pull them apart if I need to. Which I will be doing, I want a different color.


    I didn't get any of them actually in the boat, I will tonight and update for reference.


    Now, moving on to the boats with Lights underneath their cupholders. Those of you who have these know what I'm talking about. They have a switch to cut them off at the light, but are master controlled by the one switch in the dash. Now I opted to run my interior light in the helm to those cupholders, allowing me to turn on the floor lights, and the cupholder lights separately. The wiring is up to you.

    Those who have them, here is what your brackets should look like. Boring, rough looking old lights.


  4. #4
    Join Date
    May 2006
    Location
    Nashville
    Posts
    2,127

    Default

    Once you have all four of the light brackets out, begin your disassembly of the light brackets. I removed my switches to be able to wire directly to my LEDs so I could control them from the front. You can choose to leave yours if you would like them to be controlled by the switch at the bracket.

    To remove the lights, you will have to pry up all the little tabs holding it in place.


    Once all done, it should look like this. A clean bracket with nothing in it:


    A BRIEF TANGENT!::::::::::::::::::::
    While doing this I also drilled a small hole for a smaller LED from Oznium. I chose a different color (red) This would allow me to turn off my bright blue lights if it was really dark, and switch to red. This would give my passengers light, while not blinding me while I drive. Red is better for night time driving.


    Now, with the old bracket empty, here's the tricky part...........................................jus t slide the new LED into place! They fit PERFECTLY!!! No cutting required. I dropped mine in, and just used duct tape to hold them in place on the backing.


  5. #5
    Join Date
    May 2006
    Location
    Nashville
    Posts
    2,127

    Default

    Then all you have to do is screw the brackets back into place after you choose your wiring. I had to do some very creative wiring to get all floor lights onto one circuit, and all the cupholders onto another. Those of you with a Saltare will understand. I basically ran a wire from one seat light in the back to another, and then tapped into the light going to the observers seat on the starboard side.

    I then isolated the cupholders onto the cupholder switch (it has it's own dash switch). I ran my red lights onto the acc switch just pass the two interior switches. These lights barely draw any power so there isn't any concern of overloading the switches. Put in a fuse if you think it warrants it, but those switches are designed to pop if they get overloaded.

    Once you have it all bolted back together you will have very bright LED's in all the factory locations. Nothing will look out of place, not even the new LED's since you won't be able to see them. The beauty of the stock light pockets is they have half-shaded. So they keep the light focused downward to stay out of the driver's vision if he looks back.

    The end result, as many have already seen is: The settings on the camera were not enhance to give you a real effect. As you can barely see the Yellow Malibu right next to me on the other side of the dock. This is to give you as close to real world example as possible. They are that bright.


    SOME TIPS:

    -Bright blue lights like these will attract bugs. At the wake event in the above pictures, while my boat was a hot topic that night, it was also a bug magnet. I had to clean off hundreds of bugs before anyone could sit down. I will be replacing my LEDs in winter with red, with blue accents to help with that. And since it's so easy, it should take me about an hour.

    -Patience is key, it's an easy task to do on a rainy afternoon. Turn up the music, sit down somewhere comfortable and get it down. But take your time.

    -When wiring up the cupholder brackets, it's much easier to remove the speaker, and then the whole housing by removing the two 1/2 bolts on the back side. This will allow you to feed the wiring through much easier. Plus it allows you to clean up the gunk that builds up at the edges.

  6. #6
    Join Date
    Sep 2004
    Location
    Hudson, WI
    Posts
    2,651

    Default

    Nice write-up. I've got none of those original lights so this was all news to me..... LED lights are one of those things that just keep ending up on my to-do list. One of these years, I'll address it.
    Former owner of a 1987 Supra Saltare. Current owner of a Malibu 23LSV.

  7. #7
    Join Date
    Aug 2009
    Location
    NW Houston
    Posts
    1,330

    Default

    Great write up & even better results (as expected from the Haugmeister). My 89 only had lights under the cupholder pods (I think a PO covered/lost the holes somewhere along the way), but I sure like the glow provided by your extra floor lights.
    _______________89 Saltare Resto Project___________
    _________Then________________________Now_____

  8. #8
    Join Date
    May 2006
    Location
    Nashville
    Posts
    2,127

    Default

    Quote Originally Posted by wotan2525 View Post
    Nice write-up. I've got none of those original lights so this was all news to me..... LED lights are one of those things that just keep ending up on my to-do list. One of these years, I'll address it.
    All the Supras had them, but your seats were redone when you rebuilt your boat right? Most likely they were ditched.

    If you wanted to put them back in, all you would have to do is use a small hole saw, cut the holes, and then put these replacement pods back in. They have an LED Version, but both the incandescent and LED are white. Get the cheaper incandescent and do this modification, and it will look stock again, and be functional as well.

    http://www.perko.com/catalog/categor...s/product/419/ Cost is about $7 to $8.

    Quote Originally Posted by sybrmike View Post
    Great write up & even better results (as expected from the Haugmeister). My 89 only had lights under the cupholder pods (I think a PO covered/lost the holes somewhere along the way), but I sure like the glow provided by your extra floor lights.
    Yep, your Saltare had them at one point. You can put them back in if you want. Thanks for the compliments.

  9. #9
    Join Date
    May 2006
    Location
    Nashville
    Posts
    2,127

    Default

    Since I didn't really show good pictures of the end result, I took some last night. I tried to take some with the lights on, and my Iphone just butchered them.

    So here are the ones without the lights on. Tonight I'll break out the good camera and get some light shots.


  10. #10
    Join Date
    May 2006
    Location
    Nashville
    Posts
    2,127

    Default

    And here are the cup holder pods.


    Standing from normal, you can't even see them. Never mind the missing teak, it's getting redone this week.


Posting Permissions

  • You may not post new threads
  • You may not post replies
  • You may not post attachments
  • You may not edit your posts
  •