-
 Bouy's - 1986 Supra SunSport Skier
I bought this 86' SunSport in July of 2006, and I'm proud to say with the help of a few buddies I have done everything to this boat myself.
The boat had been sitting outside uncovered in a bass boat dealership for the last two years that I know of. Yes I know what your all thinking, hmmm rotten stringers and soft spots in the floors among many other cosmetic problems. Luckily the stringers are solid so far, the floor is pretty solid which is to say no noticeable soft spots for now. The gelcoat was so oxidized that the boat looked pink and white. In fact when you touched the boat your hand was covered in a white chalky residue.
Upon purchasing the boat I immediately had to replace both exhaust manifolds as they were cracked and leaking, install a new ignition switch and battery.
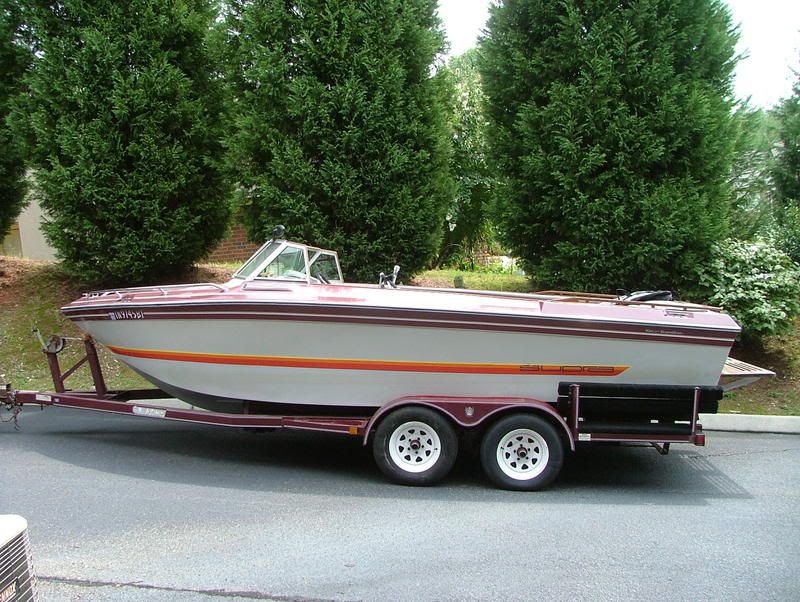
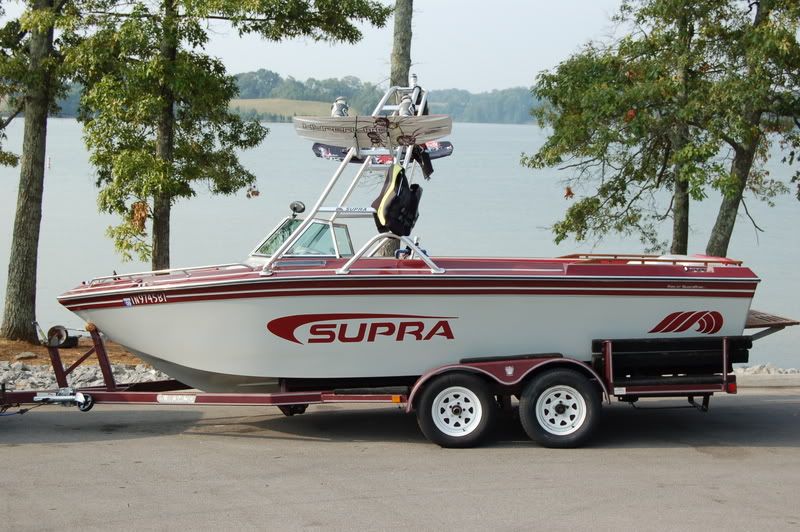
Here is a picture of the boat prior to any work...
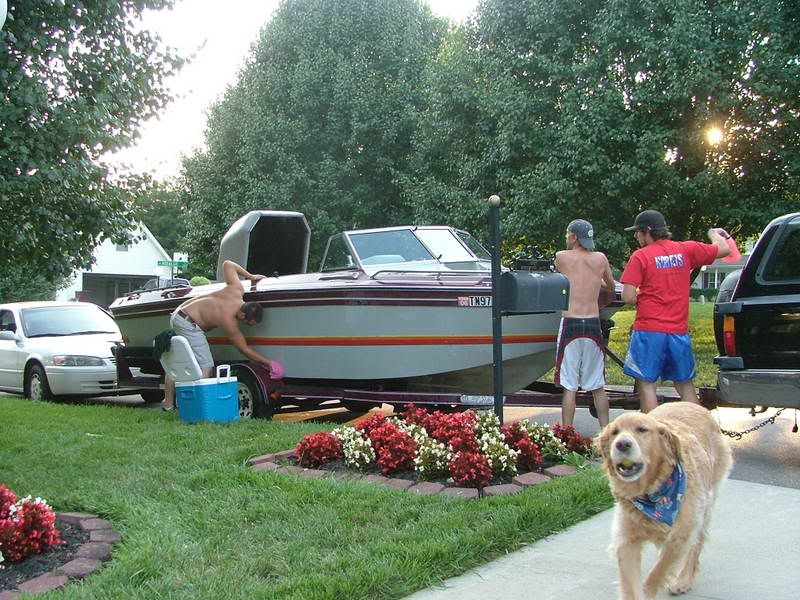
Here she is after the first wash down and all the chalky residue has been washed away.
So as you can see she needed alot of work, the interior was pretty rough but I forced myself to use the boat for the rest of the summer until winter when I could start the teardown process. I went to several local boat shows and dealerships to get ideas for my interior project. I also search local sources and internet sources for supplies.
To Date these are the things that have been redone on my 1986 SunSport:
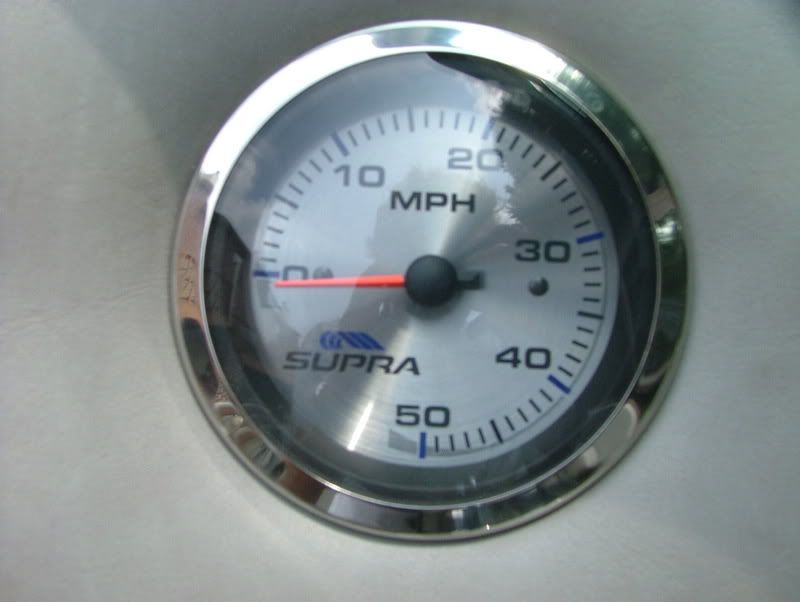
2005 Supra Guages
Paddlewheel Transducer for new Speedometer
Teak cleaned and re-oiled
Velvet Drive transmission rebuilt
Starter rebuilt
Alternator rebuilt
Ignition Coil replaced
Belts and Hoses replaced
Fuel lines and electrical wiring replaced
New interior with gunwales
Red LED interior lighting
Buff, compound, wax gelcoat
Custom Supra Graphics
WakeBoard Tower Installed
Clarion stereo remote for helm and transom
New Trailer Bunks and steps sides
Supertrapp Mufflers rebuilt
Wakeplate rebuilt
Things to finish:
New Floors
Stringer repairs if needed
Ballast System Installation
Custom Fiberglass Dash
New Tower Speakers
Tower light Bar Installation
Engine overhaul - possible EFI installation
OJ Prop
Steering Helm
Steering Box - Rudder rebuild
Here is what the new gauges look like:
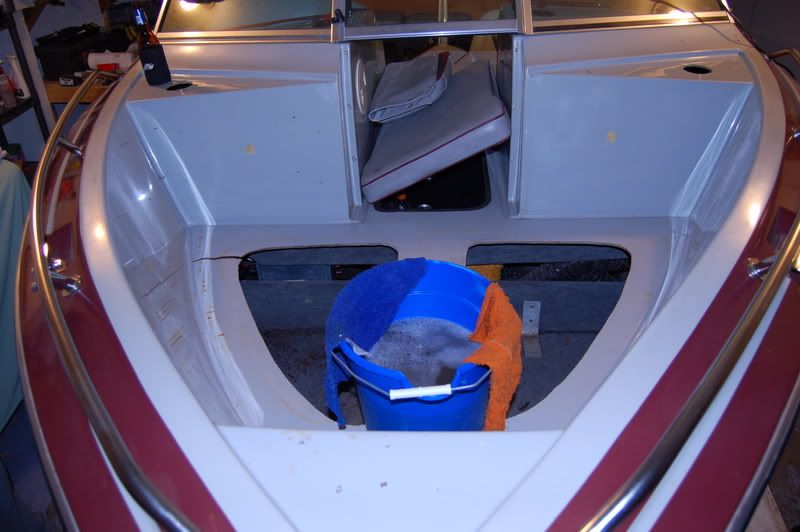
Here you can see I have removed all the interior trim panels in the front bow.
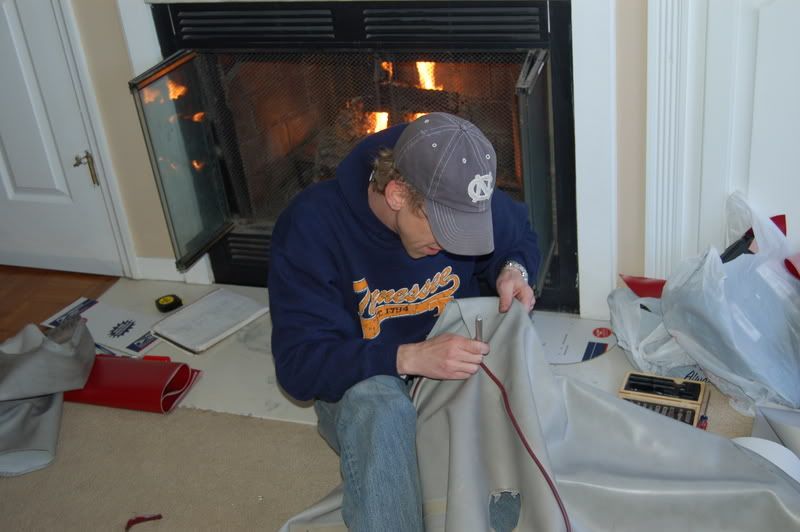
I'm tearing apart the vinyl skins on the engine cover to use as a pattern for the new skins.
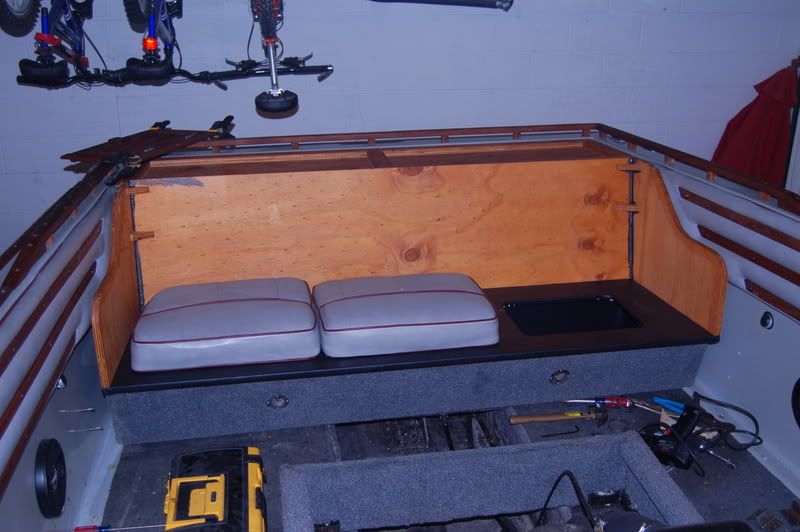
New construction of the back bench seat, the seat base has yet to be constructed in this picture.
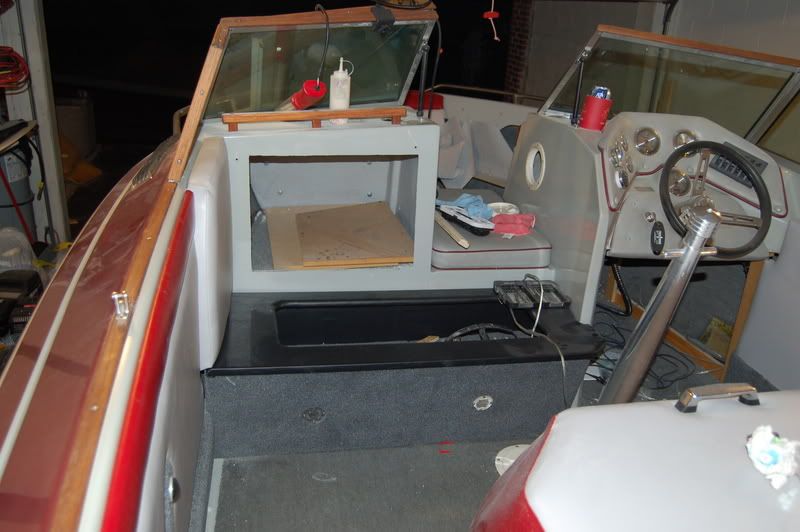
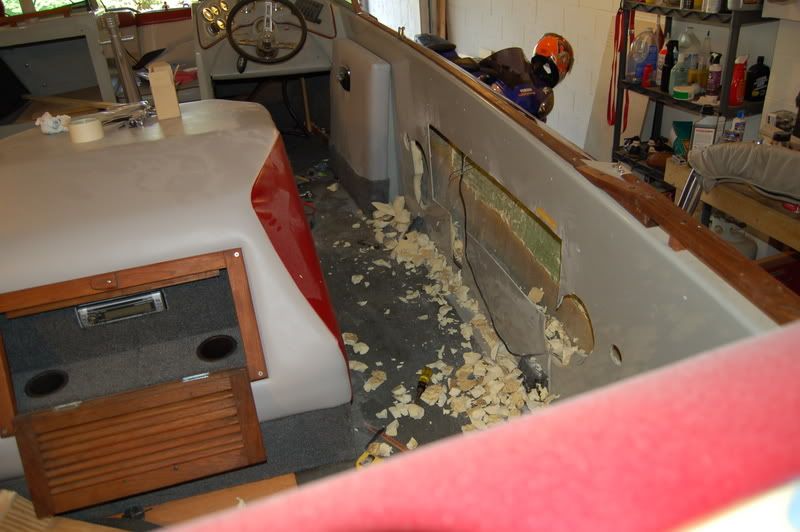
Here is the old interior and the motor box has been removed.
Reconstructing the front passenger seat and base, the base also holds a dual battery setup equiped with a deep cycle battery for my accessories and a starting battery for normal engine operation. I also installed a battery selector switch in between the two batteries. This allows me to run off my deep cycle while chillin' over in Pratter Flatts and when motoring home to the launch I can switch to my main battery.
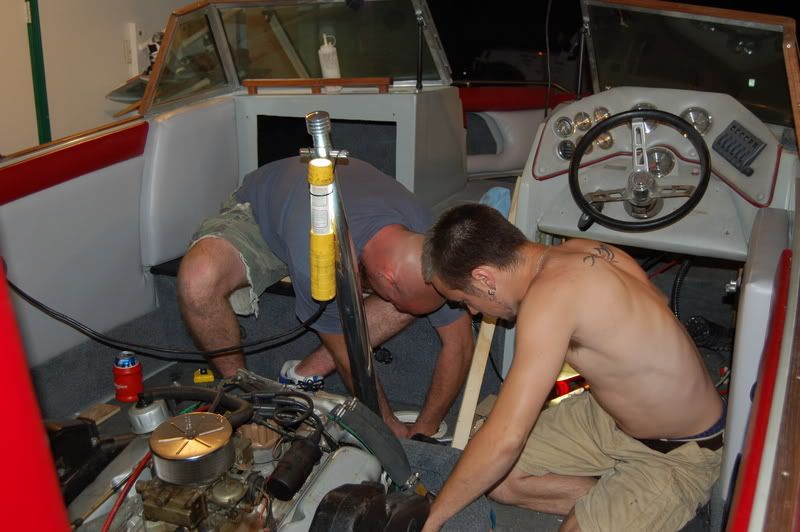
Motor work and wiring under the dash.
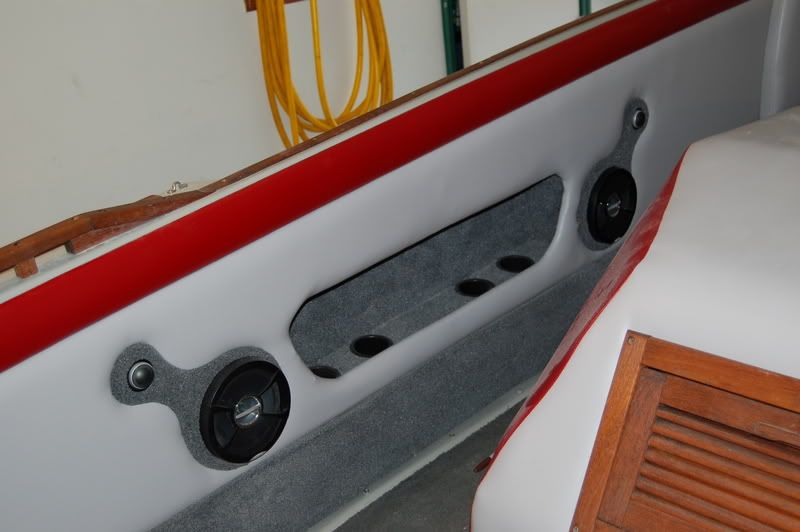
Now the real work starts, I removed the old interior trim panels, cut back into the gunwales to allow for cup holders and a newer look.
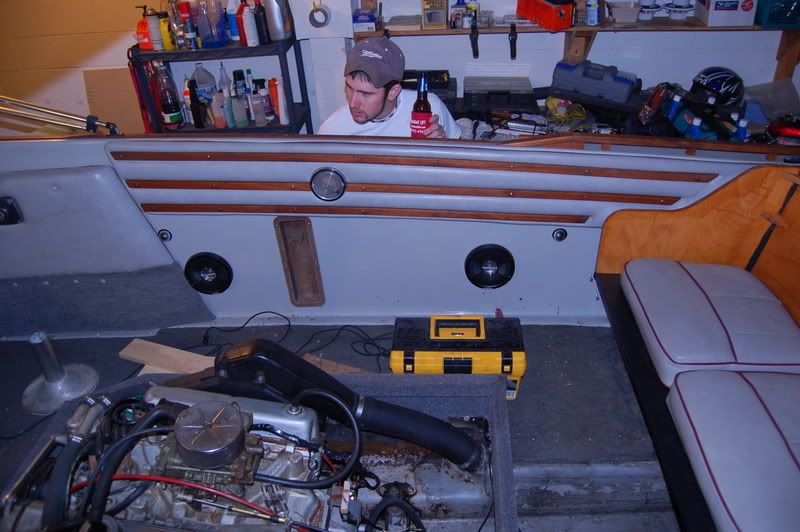
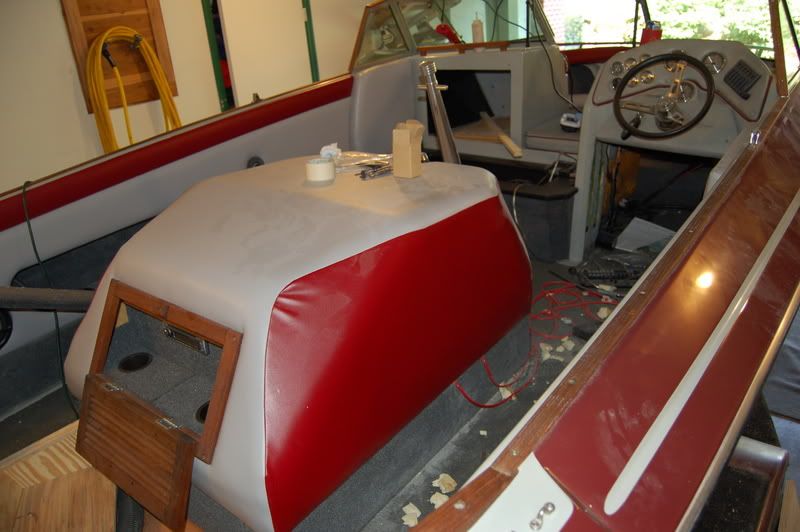
New engine cover, the stereo is actually mounted in a custom fabricated enclosure in the back of the engine box.
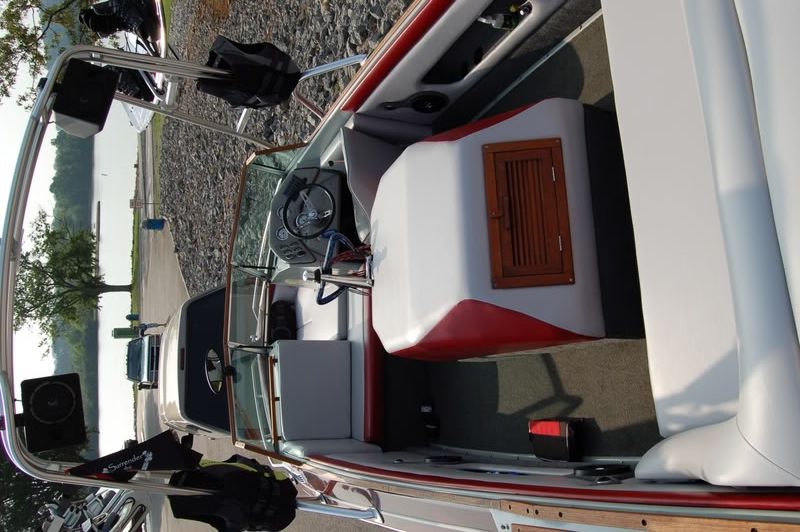
New interior being installed
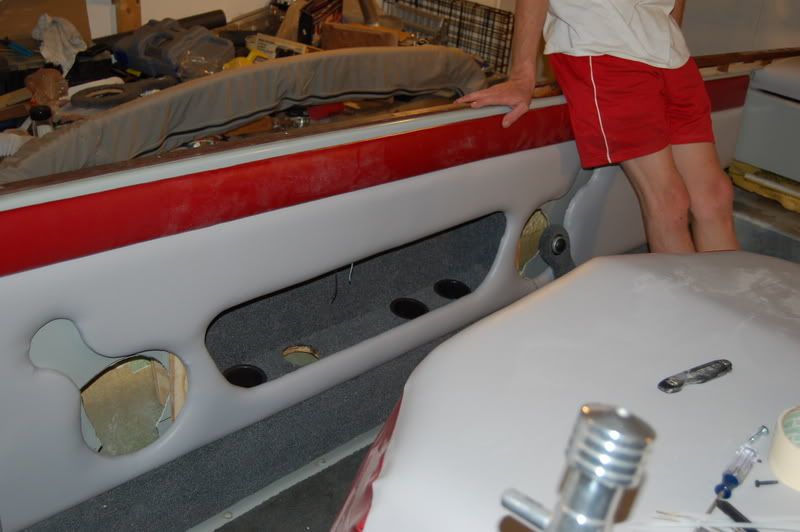
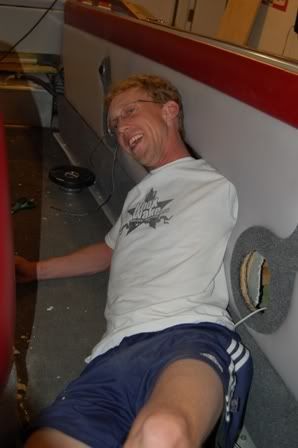
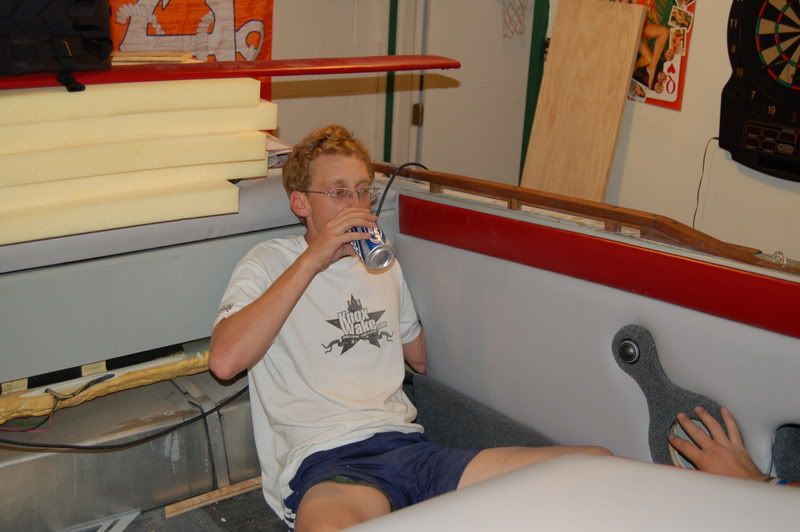
At times I felt like a pretzel but in this next pic you'll see it paid off.
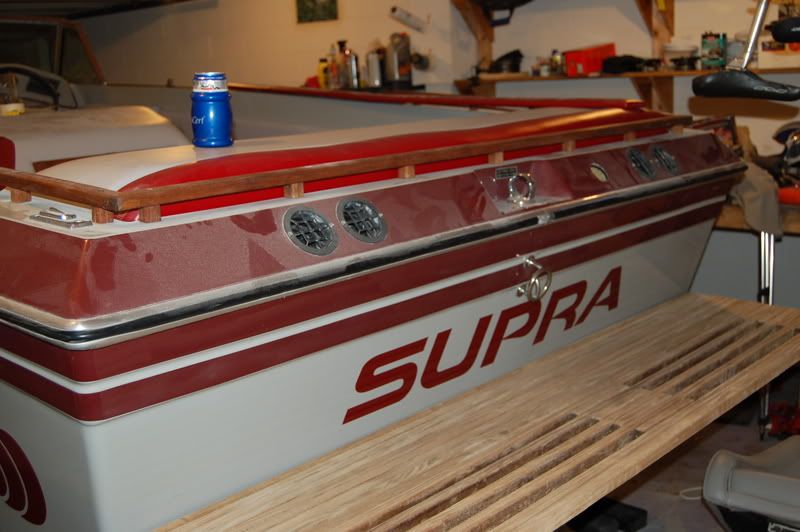
New graphics installed on the transom
Interior installed and cleaned up. As you can see it looks pretty good but I still have the helm station to redo.
I'm finished for now until the cooler weather comes back. It's time to hit the lake.
So what do you think?
-
Man that has to be the best play by play of the restoration, and customizing I've seen! Your ride looks great! I did a small job compared to yours of replacing only a section of flooring on my comp, can't imagine the hours you put!!
Great job!
DZ.
-
It looks AMAZING.
I reworked my Legacy this year and put in an aftermarket tower. It's okay, but I wish I would have put someting on similar to yours. It looks really good.
The Interior work looks great too.
AlabamaWaterBum
-
Dinoz - the play by play doesn't even come close to all the work I put into this boat but I forgot to stop and take pictures along the way so that's all I had. Speaking of floors I plan to rip the floors out this winter and install a custom ballast system. what material did you use for the flooring? I'm thinking of going with aluminum since that's what they are using now days. But thanks for the props on the restoration work.
-
BamaWaterBum - I looked at monster tower but all they had was a universal tower for my boat. I found a place here in TN called New Dimension Towers, they are currently doing all the warranty work for MasterCraft and Suora Towers. Infact the guy who started Extreme Towers has left and started this new company New Dimension Towers. Great Guys awesome product.
I had planned to have the interior work done buy a pro but it was going to cost more than what I paid for the boat originaly and they couldn't get it done until end of June or July. So I opted to do it myself, It's not perfect but way better than what I started out with and I was able to get some custom work in.
-
I just went with a 5/8" plywood again and put down about 5 coats of epoxy to seal it really good. My biggest problem was the one stringer needed to be replaced. So after I placed a 2x8 back into the area of the stringer, I covered it with 3 coats of fiberglass, and then reinforced it with a 1/4" thick piece of aluminum for addition strenght.
What I really like what you did with your interior is the space in the gunnels. I'm really curious how much room I would have in my '89 comp to do something similar..
DZ.
-
You might have enough room. I took my speakers out and measured the distance in between the gunwales and the interior wall. I found I had to move the location of the cut out up higher than I had planned by about two inches to allow room for my cupholders. You could do something similar and just not put cup holders in. Let me know if you decide to do it I'll lend a hand anyway I can.
-
Man.... that is just flat out awesome! I've restored and flipped two boats for a profit now, and I really enjoy the process. I almost get disappointed when I am done.
Let me know if you want some tips on building a ballast system. I've built two very different ones and I'm very pleased with my latest one. It is very fast, very reliable and uses very little power.
-
Funny you mention flipping boats. I originally bought this boat with a tandem axle trailer for $2200. I had every intention on flipping this boat but I have fallen in love with it now. I can't just let her go after all the blood sweat and tears I've endured putting her back together.
I am very curious about your ballast systems you have done. I have plans to utelize the fly high x series ballast tanks and all the fittings designed for them. I plan to rip up the floors to replace some small soft spots anyways so I thought this would be a great time to install the ballast system under the floors.It looks like a great way to install a ballast system, I'm just not sure if it's going to work or not. I've heard that the proper way to remove the floors is to remove the top cap of the boat. I really don't want to do this as I don't have enough room in my garage for more boat stuff.
-
You can run the hoses, wire, etc. under the floor, but you won't be able to have the tanks or bags under there.
Check out this thread on wakeboarder.com:
http://forums.wakeboarder.com/viewto...=622959#622959
I've changed a couple of minor things since I posted that, but you get the main idea. Let me know if you have any questions.
My brother-in-law put a new floor in a boat just like yours without removing the deck, but it did require some modifications.
Nice job!
 Posting Permissions
- You may not post new threads
- You may not post replies
- You may not post attachments
- You may not edit your posts
-
Forum Rules


 Reply With Quote