-

Once you cut the wires, gently work the light out from the front. I've found it easy to use a pick (small screwdriver will work) and push the wires from the back. Then you can pull the light bulb and remaining wiring out from the front of the light.
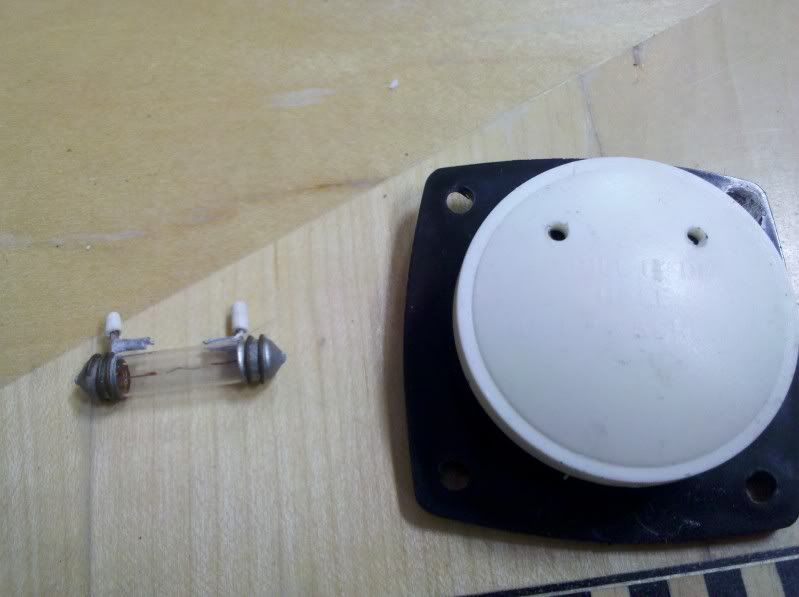
Now comes the fun part.
Once the light and wiring are removed, you have an empty shell with two small holes. Take one of the Oznium floodlights and place the actual light against the back. You are going to trace out the face of the light on the back using a pencil. Your goal is to make a hole small enough for just the neck of the light to fit through. The light has a mounting flange at the base, that will act as the backing to prevent the light from coming through.
Then take a drill, any bit will do, smaller is easier, and drill a small hole in the center of your traced backing. It should look like this:
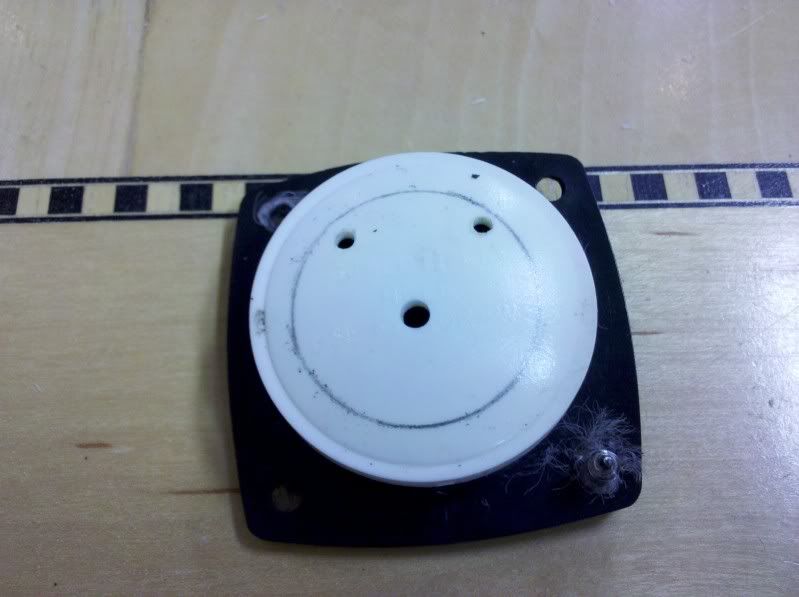
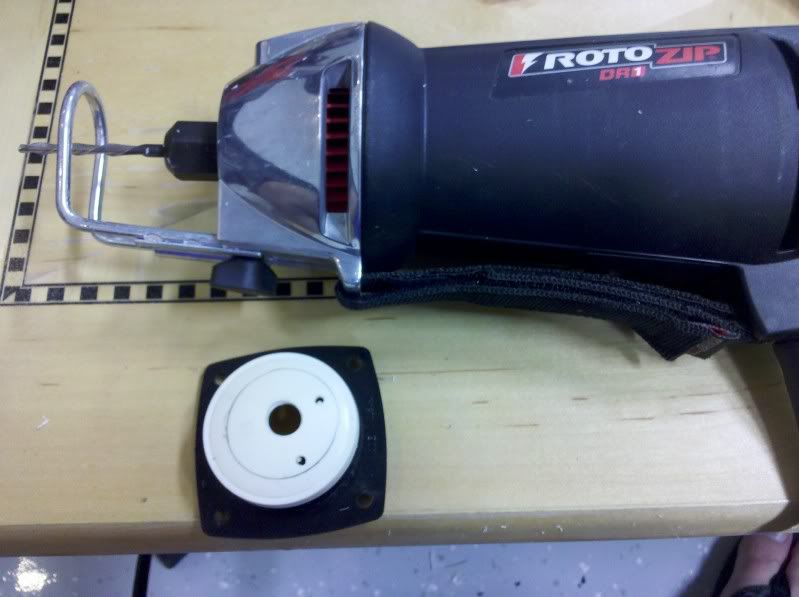
That hole will give you a nice starting point to use your Roto-zip, dremel, or drill to make a larger hole, tracing along your mark. The roto-zip is very powerful, and not very forgiving, if you get off, as you can see, it will let you know. So take your time, go slow. Wear gloves to protect your hand that is holding the light bracket, and safety glasses as their will be little bits of plastic flying everywhere.
Once you are done, the light bracket should look like this:
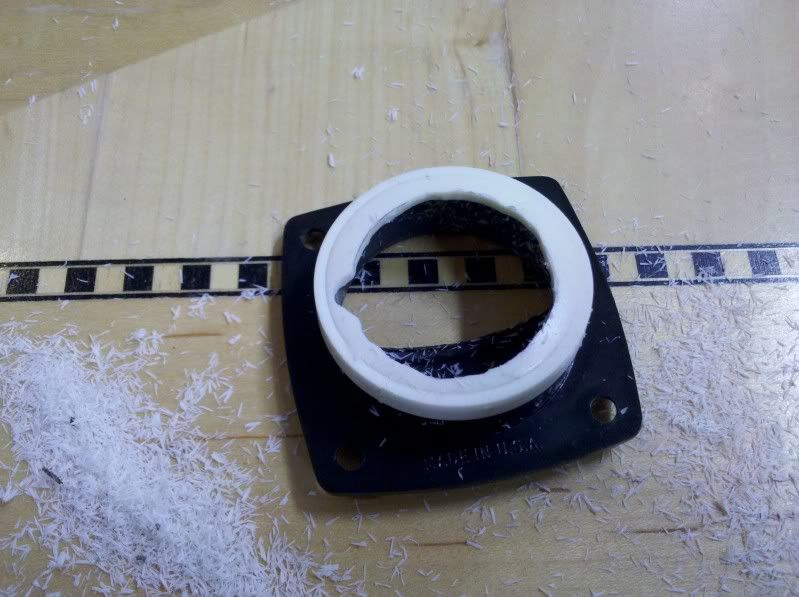
As you can see here, I got just a little off with the Rotozip and it bounced and that was all it took. But don't worry. That won't be seen. All you are trying to do is make the light pass through from the back to the front. You may have to go back once or twice to trim the edges to get it fit. Tighter and smaller is better, so if you do this, less is more. You can always trim more.
 Posting Permissions
- You may not post new threads
- You may not post replies
- You may not post attachments
- You may not edit your posts
-
Forum Rules


 Reply With Quote