
Neil -- The clear substance is just regular 100% silicone caulk. This "seals" up the top and bottom halfs.
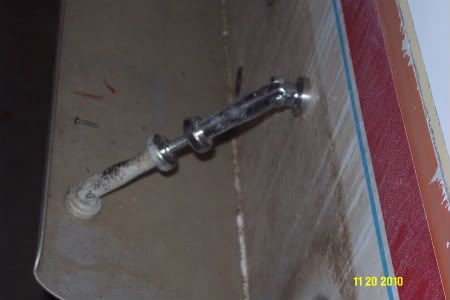
The adjustment arms on the anti-cavitation plate are stainless turnbuckles. http://www.hayn.com/marine/rigging/tt.html seems to have them, although maybe a forum member has a source for cheaper ones?
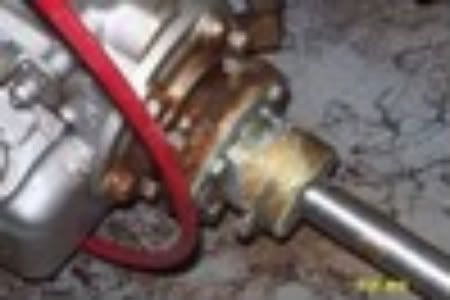
As far as removing the transmission coupler -- just unscrew the four bolts on the outside. This should get it away from the engine and then remove the set screw (if you decide to remove the coupler completely from the shaft.)
Good luck on the engine hoist. I tried 3-4 of them before giving up. Even a heavy-duty semi hoist didn't have the reach and height required to get the engine up and over the gunnels. I've had my engine out 5-6 times (don't ask.) It's been a combination of the joices in my garage (and letting the air out of the tires,) a friends car lift (again... air out of tires,) a HEAVY tree branch, and a gantry i-beam lift (this, by far, worked the best.)
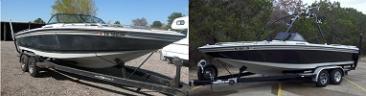
Former owner of a 1987 Supra Saltare. Current owner of a Malibu 23LSV.


 Reply With Quote
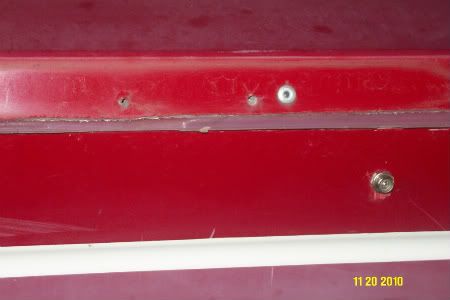
 If anyone has knowledge on the current problems I'm dealing with, I'd really appreciate it.

